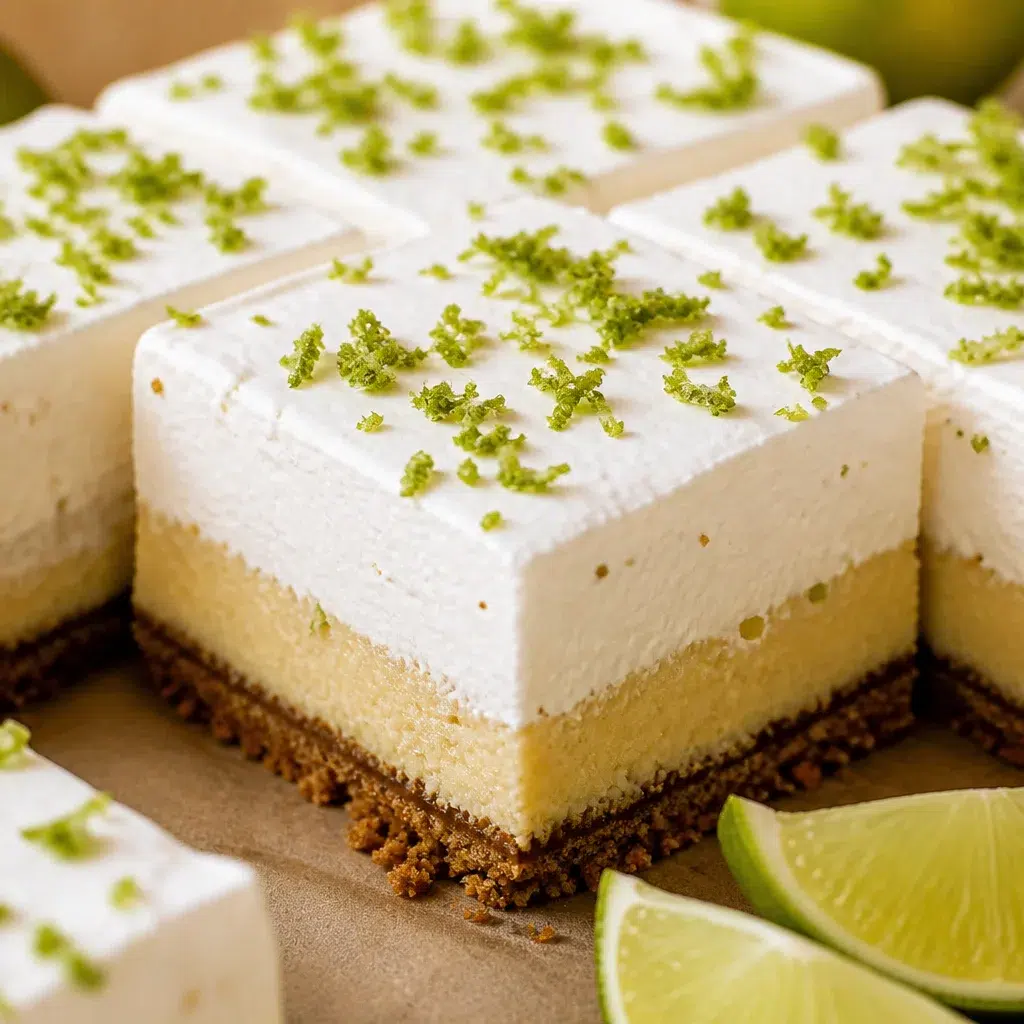
KEY LIME PIE BARS are my go to move when I want something that tastes like a Florida vacation but I do not want to fuss with a whole pie. You know those days when you want a dessert that feels special, yet you also want it to be easy and low stress? Same. These bars hit that creamy, tangy sweet spot, and they slice up neatly for sharing or sneaking from the fridge at midnight. If you have a bag of limes rolling around and a box of graham crackers, you are already halfway there. Let me walk you through my favorite way to make them.
Table of Contents
Why You’ll Love This Easy Key Lime Pie Bars Recipe (Creamy, Tangy & Crowd-Pleasing)
I have made these for backyard hangouts, baby showers, and one time just because it was Tuesday and I needed a win. The vibe is simple: buttery crust, silky lime filling, and that bright citrus pop that makes you go back for another bite.
Here is what makes this recipe a keeper:
Creamy but not heavy thanks to condensed milk doing the work for you.
Tangy and refreshing so it never feels overly sweet.
Easy to slice and serve which means less mess than a pie.
Make ahead friendly because they chill into perfect little squares.
Also, if you love citrus desserts in general, you will probably be into this easy key lime pie in a jar too. It is cute for parties and honestly kind of fun to eat.
Key Lime Pie Bars Ingredients (Key Limes, Condensed Milk, Egg Yolks & More)
Nothing weird here, just classic ingredients that play nicely together. I am listing what I use most often, and you can tweak from there.
- Graham crackers for the crust (crumbs)
- Butter melted, so the crust holds together
- Sugar a little for the crust, optional but I like it
- Sweetened condensed milk this is the secret to an easy creamy filling
- Egg yolks they help the filling set and turn custardy
- Key lime juice fresh is best if you can swing it
- Lime zest for extra punch
- Salt a tiny pinch makes everything taste brighter
Little tip: zest your limes before you juice them. I forget sometimes and then I am standing there with slippery lime halves trying to zest them, which is not my finest moment.
Best Substitutions & Ingredient Swaps (Persian Limes, Graham Cracker vs Biscoff Crust Options)
Real key limes are small and a bit of a workout to juice, so do not feel bad if you use Persian limes. The flavor is slightly different but still super delicious. If you do use Persian limes, I like adding a little extra zest to keep that zingy aroma.
Crust options are where you can really play:
Graham cracker crust is classic, lightly sweet, and tastes like the beach in dessert form.
Biscoff cookie crust is deeper and a little spiced, which is amazing if you want a warmer flavor.
Vanilla wafer crust is a softer, sweeter twist that kids usually love.
If you are out of butter, stop right there and go get butter. I have tried shortcuts, and the crust just does not hold or taste the same.
Essential Kitchen Tools for Making Key Lime Bars (Food Processor, Mixer & Baking Pan)
You do not need fancy gear, but a couple tools make life easier.
8×8 or 9×9 baking pan for thick, pretty bars.
Parchment paper so you can lift the whole slab out and slice cleanly.
Mixing bowls one for crust, one for filling.
Whisk or hand mixer whisk works fine, mixer makes it quicker.
Zester and juicer your hands will thank you.
A food processor is nice for crushing graham crackers fast, but a zip bag and rolling pin also works if you want to take out some stress on your cookies.
How to Make Key Lime Pie Bars Step-by-Step (Simple Foolproof Method)
This is the part where you realize how easy this really is. You are basically making a press in crust, stirring up a filling, then baking and chilling.
- Preheat your oven and line your pan with parchment paper.
- Mix graham crumbs, sugar, and melted butter.
- Press the crust firmly into the pan and bake it briefly.
- Whisk condensed milk, egg yolks, key lime juice, zest, and salt.
- Pour filling over the warm crust and bake until just set.
- Cool, then chill until fully firm before slicing.
While they chill, I usually clean the kitchen and then immediately mess it up again making dinner. If you need a dinner idea with a similar tangy vibe, this chili lime chicken recipe is ridiculously juicy and pairs great with a simple salad. Dessert and dinner can totally match.
How to Make the Perfect Buttery Crust for Key Lime Pie Bars
The crust is not just a base, it is the crunch that makes the creamy filling feel even better. My biggest advice is to press it down firmly. I mean really press it, especially in the corners.
Here is my crust method:
Use fine crumbs, not big chunks. Mix with melted butter until it looks like wet sand. Press into the pan with the bottom of a measuring cup so it is even and tight. Bake it just long enough to set it and make it smell toasty.
If your crust is too crumbly, it usually needs either more butter or more pressing. If it is greasy, you probably used too much butter or your crumbs were extra fine. It is fixable either way.
How to Make Creamy Key Lime Filling (Smooth, Tangy & Sweet Citrus Custard)
This filling is honestly the reason I keep coming back to KEY LIME PIE BARS. Condensed milk makes it creamy and sweet, and the lime juice gives it that bright snap. The egg yolks help it set into that classic key lime texture without being fussy.
My main tip is not to over mix. Whisk until smooth and combined, but do not go wild. Also, taste the mixture before you add the eggs if you want to adjust the tang. More zest adds lime flavor without making it too sour.
If you want extra tang, add a teaspoon or two of additional lime juice. Just do not go crazy or it can mess with how it sets.
Baking Instructions & Chill Time for Perfectly Set Key Lime Bars
These bars do not need a long bake. You want the center to look set but still have a gentle jiggle. If it is fully wiggly like liquid, it needs more time. If it is puffed and cracking, it probably went a little too far.
After baking, let them cool at room temp, then chill for at least 4 hours. Overnight is even better. Chilling is where the magic happens. The flavor gets brighter and the texture becomes sliceable and clean.
I know waiting is hard. I have cut them too early and ended up with tasty lime pudding squares. Still good, just not as photogenic.
Expert Tips for No-Fail Key Lime Pie Bars (Texture, Balance & Flavor Perfection)
I have made these enough times to learn what matters most.
Use parchment paper so you can lift and slice without stress.
Zest first before juicing, always.
Do not skip the chill because warm bars are messy bars.
Cut with a hot knife run it under hot water, wipe dry, then slice for super clean edges.
Add a pinch of salt it keeps the sweetness in check.
If you want another easy bar recipe for your snack stash, I also make these banana oatmeal bars recipe healthy all the time. Totally different flavor, but they are great to have around when you want something quick.
Common Mistakes to Avoid When Making Key Lime Pie Bars
I have done every single one of these at least once, so learn from my chaos.
Not pressing the crust enough leads to crumbly slices.
Using bottled lime juice only can taste flat. If you must, add extra zest.
Overbaking makes the filling less creamy and more eggy.
Slicing too soon turns them into a delicious mess.
Skipping parchment makes serving harder than it needs to be.
The good news is even the messy versions still taste amazing. They just might need to be served with a spoon and a little confidence.
Flavor Variations & Creative Twists (Coconut, Extra Tart, No-Bake Options)
If you love the base recipe, you can keep it fresh with little twists.
Coconut key lime bars add shredded coconut to the crust or sprinkle toasted coconut on top.
Extra tart add more zest and a tiny bit more juice, plus a less sweet whipped cream topping.
Berry swirl drop little spoonfuls of raspberry jam on top and swirl gently before baking.
No bake vibe you can do a no bake version with a chilled filling, but it is a different texture. Still good for hot days when you do not want the oven on.
I like keeping it classic most of the time because KEY LIME PIE BARS are already doing a lot in the best way.
How to Serve Key Lime Pie Bars (Whipped Cream, Lime Zest & Garnishing Ideas)
This is the fun part. You can keep it simple or make them look party ready in two minutes.
- Whipped cream a dollop right before serving
- Lime zest for color and extra aroma
- Thin lime slices super cute on a platter
- Powdered sugar light dusting for a clean look
- Crust crumbs sprinkle on top for texture
If you are putting together a dessert table, I love adding a fruit pie option too. This best peach custard pie recipe easy is a total crowd pleaser next to citrusy bars.
Storage, Freezing & Make-Ahead Instructions for Key Lime Dessert Bars
These store really well, which is one more reason I make them often.
Fridge: Keep them covered in the refrigerator for up to 5 days. The flavor actually gets even better after the first day.
Freezer: Freeze sliced bars on a tray until firm, then wrap and store in a freezer bag for up to 2 months. Thaw in the fridge so they stay neat.
Make ahead: I like making them the night before. They slice cleaner and the tangy lime flavor feels more balanced.
If you are taking them to a party, transport them chilled and keep them cool until serving. Warm car rides can soften the filling a bit.
Common Questions
Can I make KEY LIME PIE BARS without key limes?
Yes. Persian limes work great. Add a little extra zest to boost the lime flavor.
How do I know when the bars are done baking?
The center should look set with a small jiggle. If it looks liquid, bake a few more minutes and check again.
Why did my crust fall apart?
Usually it was not pressed firmly enough or it needed a touch more butter. Pressing hard makes a big difference.
Can I use whole eggs instead of yolks?
I do not recommend it. Whole eggs can change the texture and make the filling less smooth. Yolks give the best creamy set.
Do I have to chill them overnight?
You do not have to, but at least 4 hours is important. Overnight is ideal for clean slices.
A Sweet Little Send Off
If you want a dessert that feels sunny, easy, and totally shareable, KEY LIME PIE BARS are it. You get a buttery crust, a creamy tangy filling, and that chill factor that makes them so satisfying straight from the fridge. If you want to compare versions, I have looked at Easy Key Lime Pie Bars – Easy Recipe – Sally’s Baking Addiction and also Easy Key Lime Pie Bars Recipe | Girl Versus Dough, and it is honestly fun seeing the little differences. Now go grab those limes, clear a spot in your fridge, and make a batch. You will be so happy you did.
Print
Key Lime Pie Bars
- Total Time: 3 hours 30 minutes
- Yield: 16 bars
Description
Creamy and tangy key lime pie bars with a buttery crust, perfect for easy sharing and satisfying sweet cravings.
Ingredients
For the crust
- 1 cup Graham cracker crumbs (Finely crushed for the crust)
- 1/4 cup Unsalted butter, melted (Holds the crust together)
- 2 tablespoons Granulated sugar (Optional, for sweetness)
For the filling
- 1 can Sweetened condensed milk (Key for a creamy filling)
- 4 Egg yolks (Helps the filling set)
- 1/2 cup Fresh key lime juice (Fresh juice is best)
- 1 tablespoon Lime zest (For extra lime flavor)
- 1 pinch Salt (Enhances flavor)
Instructions
Preparation
- Preheat the oven to 350°F (175°C) and line an 8×8 or 9×9 baking pan with parchment paper.
- In a mixing bowl, combine graham cracker crumbs, sugar, and melted butter. Mix until well combined.
- Press the mixture firmly into the bottom of the prepared pan and bake for about 8-10 minutes until lightly golden.
Filling
- In another bowl, whisk together the sweetened condensed milk, egg yolks, key lime juice, lime zest, and salt until smooth.
- Pour the filling over the warm crust and bake for another 15-20 minutes, or until just set with a slight jiggle.
Chilling
- Remove from oven and let cool to room temperature, then chill in the refrigerator for at least 4 hours or overnight.
- Slice into bars and serve with whipped cream or lime zest if desired.
Notes
The crust should be pressed firmly for better texture. For a deeper flavor, consider using a Biscoff or vanilla wafer crust. Always zest before juicing for easier preparation.
- Prep Time: 15 minutes
- Cook Time: 30 minutes
- Category: Dessert, Snack
- Cuisine: American


