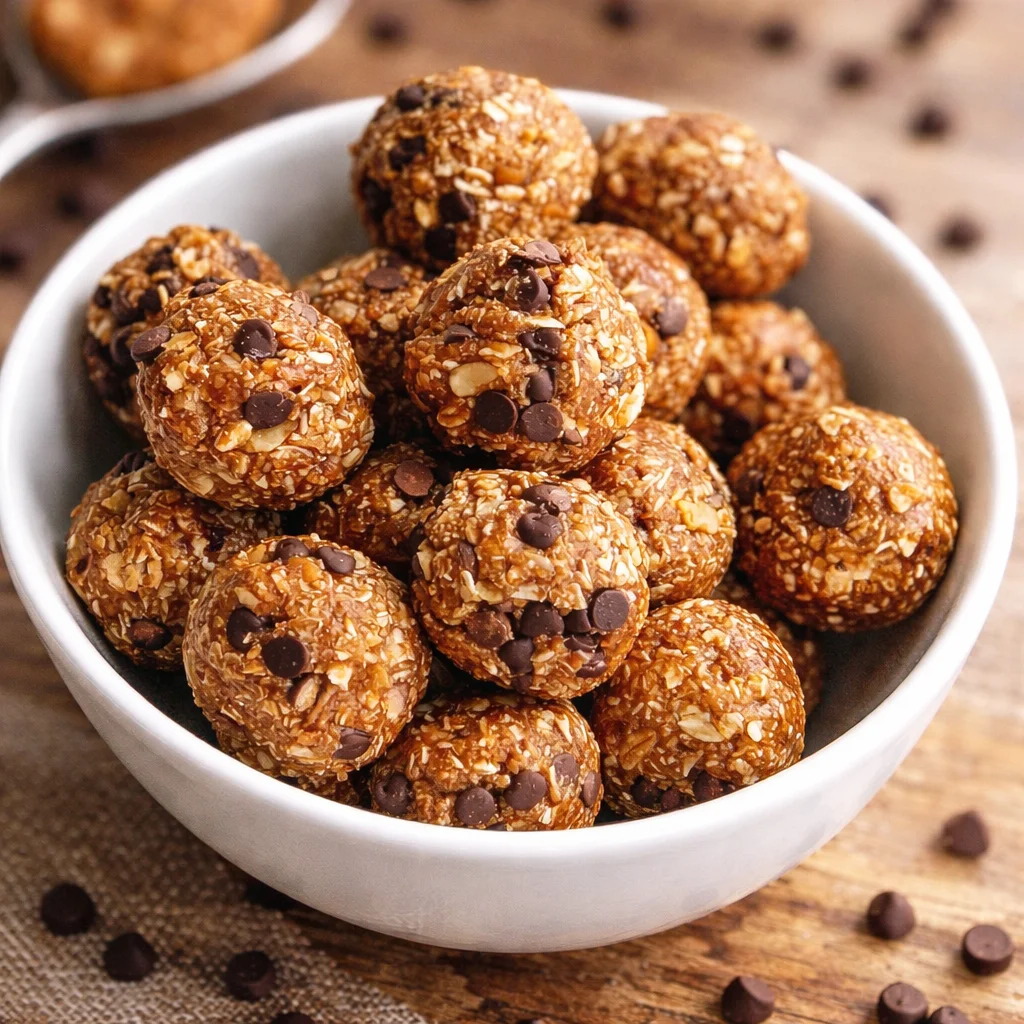
No-Bake Chocolate Peanut Butter Protein Balls are my go to snack for those afternoons when I want something sweet, but I also want it to actually keep me full. You know that moment when you open the pantry and stare, hoping a “healthy dessert” will magically appear? That is exactly why I started making these.
They taste like a fudgy peanut butter cup, but they are made from simple pantry stuff and take maybe 10 minutes. No oven, no fancy techniques, and no waiting for butter to soften. If you can stir, you can make these, promise.
Essential Ingredients for Nutrient-Dense Protein Balls
Before we roll anything into cute little bites, let’s talk ingredients. This is where most people get tripped up, because the dough can go from perfect to weirdly dry depending on what you use. The good news is you can totally adjust it, and I’ll show you how.
Choosing the Best Protein Powder: Whey vs. Plant-Based
Protein powder is doing a lot of the heavy lifting here. Whey usually blends smoother and gives you a creamier bite. Plant based protein works too, but it can soak up more moisture and make the mix a little thicker.
If you use plant based protein, expect to add a bit more peanut butter or a drizzle more honey. Also, pick a flavor you actually like. I usually go with chocolate or vanilla. If you pick something like salted caramel, just know it will change the vibe.
The Secret to Perfect Texture: Rolled Oats vs. Oat Flour
Rolled oats give a heartier, chewier texture. Oat flour makes them smoother, almost truffle-like. I like rolled oats when I want more bite, and oat flour when I want the “dessert” feel.
Quick tip: if you only have rolled oats but want a smoother texture, blitz them in a blender for 10 seconds and you basically made oat flour.
Why “Drippy” Natural Peanut Butter Matters
This is big. You want peanut butter that is runny and stirrable, not the thick, dry kind that rips your bread. The drippy stuff binds everything without needing a ton of extra sweetener. If your natural peanut butter has been sitting in the fridge and turned stiff, let it warm up and stir it well first.
Natural Sweeteners: Honey, Maple Syrup, or Medjool Dates
I use honey most of the time because it’s easy and it gives a classic flavor. Maple syrup is great if you like a slightly deeper sweetness. Medjool dates can work too, but they usually need the food processor method so they blend into the dough instead of staying chunky.
Superfood Add-ins: Chia Seeds, Flax Meal, and Hemp Hearts
You do not need these, but I love what they do. A spoonful adds fiber and a little “I’m taking care of myself” feeling. My favorites:
- Chia seeds for a tiny crunch and extra fiber
- Flax meal for a subtle nutty taste
- Hemp hearts for a soft texture and extra protein
Step-by-Step Instructions: How to Make Protein Balls
Alright, let’s make it happen. Here’s the base recipe I use most often for No-Bake Chocolate Peanut Butter Protein Balls, plus two ways to mix it depending on your mood and your kitchen situation.
What you’ll need
- 1 cup rolled oats (or 3/4 cup oat flour for smoother balls)
- 1/2 cup drippy natural peanut butter
- 1/4 cup honey or maple syrup
- 1 scoop chocolate or vanilla protein powder
- 2 tablespoons cocoa powder (optional but highly recommended)
- Pinch of salt
- 1 to 3 tablespoons milk of choice, only if needed
- Optional add ins: mini chocolate chips, chia, flax, hemp hearts
Option 1: One-Bowl Hand-Mixed Method (No Equipment Needed)
Dump everything into a bowl and stir. I start with oats, protein powder, cocoa, and salt. Then I add peanut butter and honey. At first it looks like it won’t come together. Keep stirring and pressing with the spoon until it starts clumping.
If it stays sandy, add milk one tablespoon at a time. If it gets too sticky, sprinkle in a little more oats. This method is my weekday favorite.
Option 2: Food Processor Method for a Fudgy, Uniform Texture
This is the “bakery style” method. Toss oats in first and pulse a few times. Add everything else and process until the dough forms a big ball. It ends up smoother and a bit fudgier, especially if you use dates. It also hides flax meal really well if you are trying to sneak it in.
Tips for Rolling the Perfect 1-Inch Energy Ball
Wash and dry your hands, then lightly wet your palms. It keeps the dough from sticking. Roll into 1 inch balls so they are snackable and not overwhelming. I like to chill the dough for 10 minutes if it feels too soft.
By the way, if you love high protein snacks like this, I also keep a batch of protein pudding in the fridge for those nights when I want something cold and creamy.
Pro-Tips for the Best Consistency Every Time
This is the part that saves your batch if something feels off. Protein powder brands vary a lot, so don’t stress if your dough needs a tiny adjustment.
Easy rule: If it won’t stick together, add moisture. If it is too sticky, add dry ingredients.
;
Dry fixes: extra peanut butter, a splash of milk, or a little more honey.
Sticky fixes: more oats, a bit more protein powder, or 5 minutes in the fridge.
Recipe Variations and Easy Substitutions
Once you make No-Bake Chocolate Peanut Butter Protein Balls the classic way, it’s really fun to play around. Here are swaps that actually work without ruining the texture.
Vegan and dairy-free protein ball swaps: use maple syrup instead of honey and a plant based protein powder. Choose dairy free chocolate chips if you add them.
Gluten-free modifications for sensitive diets: use certified gluten free oats. Everything else is naturally gluten free most of the time, but check labels if you are sensitive.
Nut-free alternatives: sunflower butter and tahini options: sunflower seed butter is the closest swap. Tahini works too but it tastes more earthy, so add a touch more sweetener and vanilla.
Keto-friendly and low-carb adjustments: swap oats for almond flour and use a keto sweetener like monk fruit syrup. The texture will be softer, so chill longer before rolling.
Flavor Upgrades and Creative Mix-Ins
This is where you can make them feel new every week. I like to keep the base dough the same, then change the mix ins depending on what I’m craving.
Double chocolate: add cocoa powder plus mini dark chocolate chips. If you love a rich bite, a tiny pinch of espresso powder makes the chocolate pop.
Texture boosters: chopped peanuts, shredded coconut, or even a small handful of rice cereal for crunch. If you add rice cereal, roll gently so it doesn’t crush.
Seasonal flavors: cinnamon in the fall, vanilla extract year round, or a pinch of flaky salt on top if you love that sweet salty thing.
On busy weeks, I’ll prep these alongside a savory lunch like this high-protein chicken salad so I’m not hunting for snacks all day.
Indulgent Finishing Touches: The Chocolate Coating
You can absolutely eat these plain. But if you want them to taste like a real treat, dip them in chocolate. It turns them into legit dessert snacks.
How to melt chocolate with coconut oil for a perfect shell: melt chocolate chips with a small spoonful of coconut oil. Start with 1 teaspoon per 1/2 cup chocolate. Microwave in short bursts and stir in between. The coconut oil helps it melt smoother and dip easier.
Dipping and drizzling techniques for a professional look: dip the bottom half, set on parchment, then drizzle the rest over the top with a spoon. It looks fancy but takes 30 seconds.
Topping ideas: flaky sea salt, sprinkles, crushed peanuts, or even a pinch of cacao nibs if you like crunch.
Storage and Freezing Guide for Long-Lasting Freshness
This is one of my favorite things about No-Bake Chocolate Peanut Butter Protein Balls. They store like a dream, so you can make a batch and feel like your future self just got a gift.
How long do homemade protein balls last in the fridge? Usually 7 to 10 days in a sealed container. They taste best after the first hour of chilling because they firm up and the flavors settle.
Can you freeze protein balls? Best practices for long-term storage Yes. Freeze them on a tray first so they don’t stick together, then move them into a freezer bag. They’re good for about 2 to 3 months. Let one thaw for 10 minutes and it’s perfect.
The best containers to prevent freezer burn and sticking I use a freezer bag with the air pressed out, or a container with parchment between layers. If you dip in chocolate, parchment is your best friend.
Nutritional Benefits and Healthy Snacking Science
I’m not pretending these are “diet food,” but they are a smart snack. The combo of protein, fiber, and healthy fats helps you feel satisfied instead of hungry again in 20 minutes.
Understanding macros: protein, healthy fats, and fiber content The protein powder and peanut butter bring the protein. Oats bring fiber and slow carbs. Add ins like chia and flax bump up fiber even more. Exact numbers depend on your brands and ball size, which is why I like to keep them consistent.
Why peanut butter and oats provide sustained energy Peanut butter has fat and a little protein, which slows digestion. Oats give you steady energy instead of a sugar spike. Together, they make No-Bake Chocolate Peanut Butter Protein Balls feel like an actual mini meal, not just candy.
Weight Watchers (WW) Points and calorie breakdown I’m not a WW expert, but here’s the honest way to handle it: plug your exact ingredients into the WW app or a calculator, then divide by how many balls you made. If you want lower calories, make smaller balls and skip the chocolate coating.
Common Questions
1) Why are my protein balls falling apart?
Usually not enough moisture. Add a tablespoon of peanut butter or a tiny splash of milk, then mix again.
2) Can I make these without oats?
Yes. Try almond flour or shredded coconut, but start with less because they absorb differently than oats.
3) Do I have to use cocoa powder?
No, but it makes them taste more like a dessert. Without cocoa, they’re more like classic peanut butter energy bites.
4) How many should I eat at once?
I usually grab 1 or 2. They’re filling, especially if you made them with a full scoop of protein powder.
5) Can kids eat these?
Yep, as long as the ingredients work for them. If you’re using caffeinated protein or strong sweeteners, you might want a simpler version for little ones.
A Sweet Snack You’ll Actually Want to Make Again
If you try these No-Bake Chocolate Peanut Butter Protein Balls once, you’ll get why I keep them in my fridge all the time. They’re quick, flexible, and they hit that chocolate peanut butter craving without turning into a whole baking project. If you want another solid take on this idea, I’ve also looked at Chocolate Peanut Butter Protein Balls – Salt & Baker and it’s a great reference for more inspiration. Make a batch, tweak it to your taste, and stash a few in the freezer so future you has an easy win.
Print
No-Bake Chocolate Peanut Butter Protein Balls
- Total Time: 10 minutes
- Yield: 12 balls
Description
These No-Bake Chocolate Peanut Butter Protein Balls are a delicious and nutritious snack that satisfies sweet cravings while keeping you full.
Ingredients
Main Ingredients
- 1 cup rolled oats (or 3/4 cup oat flour for smoother balls)
- 1/2 cup drippy natural peanut butter (runny peanut butter is preferred for binding)
- 1/4 cup honey (or maple syrup)
- 1 scoop chocolate or vanilla protein powder (choose a flavor you like)
- 2 tablespoons cocoa powder (optional but recommended)
- 1 pinch salt (enhances flavor)
- 1–3 tablespoons milk of choice (use only if needed to adjust consistency)
Optional Add-ins
- mini chocolate chips (for extra sweetness)
- chia seeds (adds fiber and crunch)
- flax meal (adds a nutty taste)
- hemp hearts (adds texture and protein)
Instructions
Preparation
- In a bowl, combine rolled oats, protein powder, cocoa powder, and salt.
- Add drippy natural peanut butter and honey to the dry ingredients.
- Mix everything together until it starts clumping. If the mixture is sandy, add milk one tablespoon at a time.
- Roll the mixture into 1-inch balls. Wet your palms lightly to prevent sticking.
- For a smoother texture, use a food processor by pulsing the oats first and then adding all other ingredients to form a dough.
Storage
- Store protein balls in a sealed container in the fridge for 7-10 days.
- To freeze, place on a tray to prevent sticking, then transfer to a freezer bag.
Notes
These protein balls can be customized with different flavors and add-ins. For a chocolate coating, melt chocolate chips with coconut oil, dip the balls, and drizzle for decoration.
- Prep Time: 10 minutes
- Category: Dessert, Snack
- Cuisine: American


